本文使用的 ss panel 3 版本:ss-panel-v3-mod-with-f2fpay
步骤
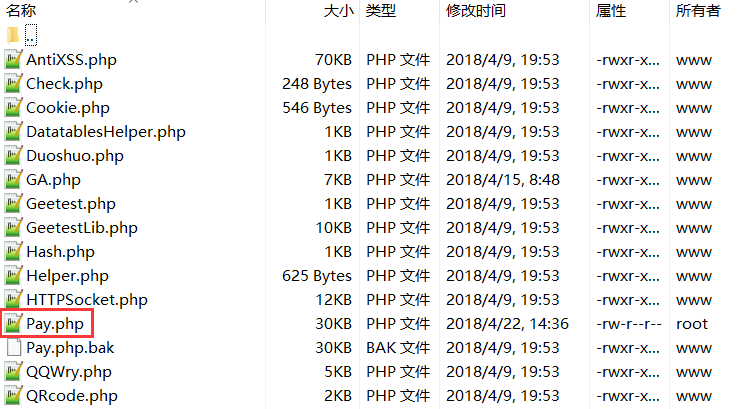
通过SFTP登陆网站服务器,进入网站根目录,进入/app/Utils文件夹,编辑Pay.php文件

找到第50行

替换return内的内容为
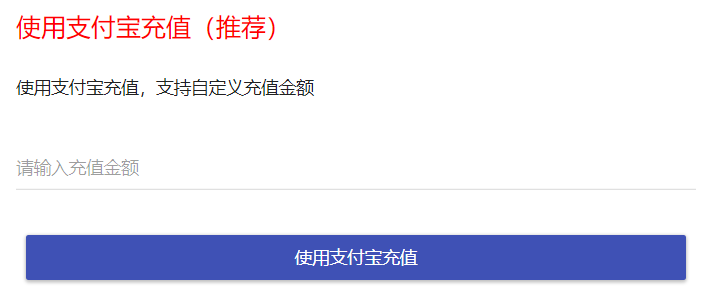
                        <p class="card-heading"><font color="red">使用支付宝充值(推荐)</font></p>
						<p>使用支付宝充值,支持自定义充值金额</p>
						<div class="form-group form-group-label">
							<label class="floating-label" for="number">请输入充值金额</label>
							<input class="form-control" id="type" type="text" name="amount">
						</div>
						<p></p>
						<div class="card-action-btn">
							<p id="checkin-btn">
								<button id="urlChange" class="btn btn-block btn-brand waves-attach waves-light waves-effect">使用支付宝充值</button>
							</p>
						</div>
然后编辑网站根目录/resources/views/material/user/code.tpl文件,将第224行的
amount: $("#type").find("option:selected").val()
替换为
amount: $("#type").val()
效果
可以设置最低充值限额,详见 本文

发表回复