安装 lnmp
wget https://soft.lnmp.com/lnmp/lnmp2.2.tar.gz -O lnmp2.2.tar.gz && tar zxf lnmp2.2.tar.gz && cd lnmp2.2 && ./install.sh lnmp
配置 lnmp
启用部分函数,并关闭防跨站设置
sed -i 's/,system//g' /usr/local/php/etc/php.ini
sed -i 's/,proc_open//g' /usr/local/php/etc/php.ini
sed -i 's/,proc_get_status//g' /usr/local/php/etc/php.ini
sed -i 's/^fastcgi_param PHP_ADMIN_VALUE/#fastcgi_param PHP_ADMIN_VALUE/g' /usr/local/nginx/conf/fastcgi.conf
指定 sql mode
sed -i '7c sql_mode = STRICT_TRANS_TABLES,NO_ZERO_IN_DATE,NO_ZERO_DATE,ERROR_FOR_DIVISION_BY_ZERO,NO_AUTO_CREATE_USER,NO_ENGINE_SUBSTITUTION' /etc/my.cnf
重启 lnmp
lnmp restart
添加 sspanel 的 nginx 配置
lnmp vhost add
添加 phpmyadmin 的 nginx 配置
lnmp vhost add
部署 phpmyadmin。在网站根目录下执行
version=$(curl -s https://api.github.com/repos/phpmyadmin/phpmyadmin/releases/latest | grep tag_name | cut -d '"' -f 4 | sed 's/RELEASE_//; s/_/./g')
phpmyadmin_version="${version}"
wget https://files.phpmyadmin.net/phpMyAdmin/${phpmyadmin_version}/phpMyAdmin-${phpmyadmin_version}-all-languages.zip
unzip -q phpMyAdmin-${phpmyadmin_version}-all-languages.zip
mv phpMyAdmin-${phpmyadmin_version}-all-languages/* ./
rm -rf phpMyAdmin-${phpmyadmin_version}-all-languages*
mkdir tmp
chmod 755 -R *
chown www -R *
登录 phpmyadmin
- 创建库 sspanel
- 创建 mysql 用户(用于节点通信)
允许 mysql 远程登录
iptables -L -n --line-numbers
iptables -D INPUT 6
/etc/init.d/netfilter-persistent save
/etc/init.d/netfilter-persistent reload
修改 nginx 配置,目录 /usr/local/nginx/conf/vhost
- 强制 https
server
	{
		listen 80;
		server_name xxx.com ;
		return 301 https://$server_name$request_uri;
	}
- 修改目录
root /home/wwwroot/xxx.com/public;
- 配置伪静态
		location /
		{
			try_files $uri $uri/ /index.php$is_args$args;
		}
- 重启 nginx
lnmp nginx restart
部署面板。网站目录以 /home/wwwroot/sspanel 为例
cd /home/wwwroot/sspanel
git clone https://github.com/Anankke/SSPanel-Uim.git .
wget https://getcomposer.org/installer -O composer.phar
php composer.phar
php composer.phar install
chmod 755 -R *
chown www -R *
登录 MySQL,将位于目录 /home/wwwroot/sspanel/sql 下的 glzjin_all.sql 导入库 sspanel
root@debian:~# mysql -uroot -p
Enter password:
Welcome to the MySQL monitor. Commands end with ; or \g.
Your MySQL connection id is 110
Server version: 8.0.13 Source distribution

Copyright (c) 2000, 2018, Oracle and/or its affiliates. All rights reserved.

Oracle is a registered trademark of Oracle Corporation and/or its
affiliates. Other names may be trademarks of their respective
owners.

Type 'help;' or '\h' for help. Type '\c' to clear the current input statement.

mysql> use sspanel;
Database changed
mysql> source /home/wwwroot/sspanel/sql/glzjin_all.sql;
按 Ctrl + D 退出
配置 sspanel
复制配置模板
cd /home/wwwroot/sspanel
cp config/.config.example.php config/.config.php
cp config/appprofile.example.php config/appprofile.php
建议使用 xftp 配合 notepad++ 编辑 .config.php 文件,也可使用 vim 命令配置各项参数
$_ENV['db_driver'] = 'mysql';
$_ENV['db_host'] = 'localhost';
$_ENV['db_database'] = 'sspanel';
$_ENV['db_username'] = 'root';
$_ENV['db_password'] = 'passwd';
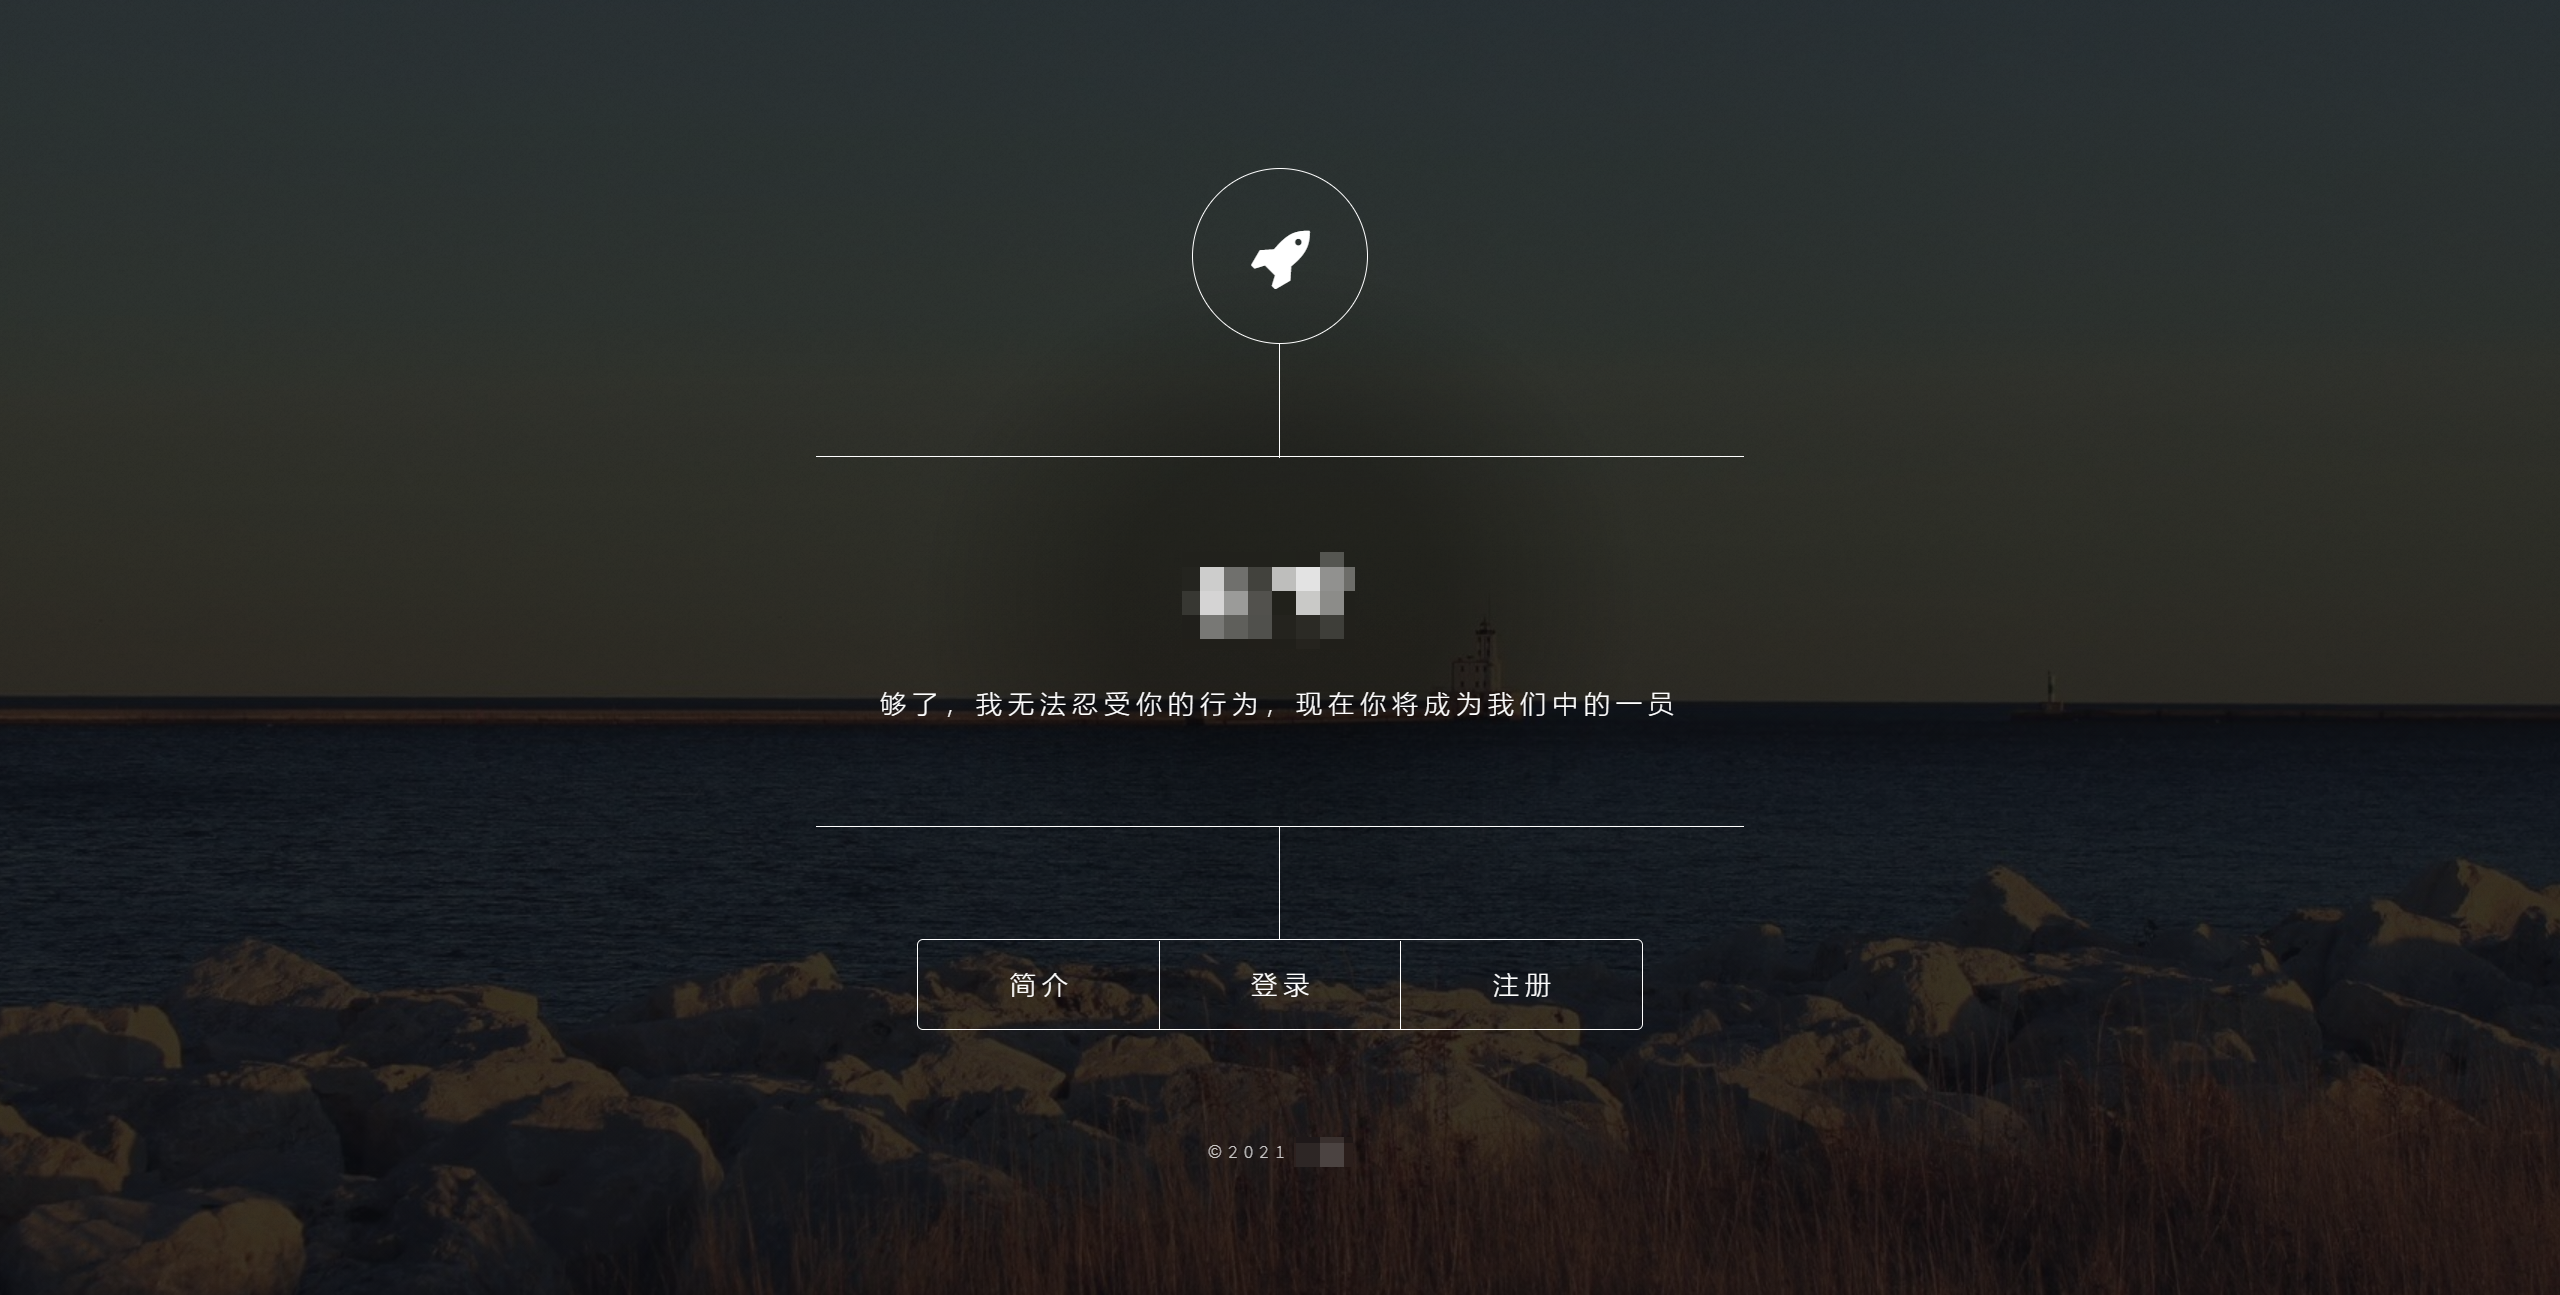
成功访问

后续操作
进入网站根目录
cd /home/wwwroot/sspanel
- 创建管理员
root@debian:/home/wwwroot/xxx.com# php xcat User createAdmin
add admin/ 创建管理员帐号.....Enter your email/输入管理员邮箱: admin@xxx.com
Enter password for: admin@xxx.com / 为 admin@xxx.com 添加密码: xxx
Email: admin@xxx.com, Password: xxx! Press [y] to create admin..... 按下[Y]确认来确认创建管理员账户.....
Y
start create admin accountSuccessful/添加成功!
- 下载 ip 数据库
php xcat Tool initQQWry
- 设置定时任务
选择编辑器
root@debian:/home/wwwroot/xxx.com# crontab -e

Select an editor. To change later, run 'select-editor'.
1. /bin/nano <---- easiest
2. /usr/bin/vim.basic
3. /usr/bin/vim.tiny

Choose 1-3 [1]: 3
crontab: installing new crontab
添加定时任务
30 22 * * * php /home/wwwroot/sspanel/xcat SendDiaryMail
0 0 * * * php -n /home/wwwroot/sspanel/xcat Job DailyJob
*/1 * * * * php /home/wwwroot/sspanel/xcat Job CheckJob
参考来源
https://www.phpmyadmin.net/
https://stackoverflow.com/a/57782517
https://github.com/Anankke/SSPanel-Uim
https://github.com/Anankke/SSPanel-Uim/issues/1200
https://blog.anank.ke/w/SSPanel_with_DROP_DATABASE_BT
https://cn.wiki.hybgzs.cn/ss-panel-v3-mod/installation-lnmp1.4
发表回复